If you have been diagnosed with sleep apnea, or suspect you may have it, CPAP Therapy can improve your quality of sleep and overall health. However, using a CPAP Machine can also be challenging, especially for beginners.
Continue reading to learn more about how CPAP machines work, how to use them, and how to make the most out of them.
What Is a CPAP Machine?
A continuous positive airway pressure (CPAP) machine is a medical device that works by delivering a continuous stream of pressurized air through tubing into a CPAP mask that you wear while you sleep.
CPAP therapy is the most common and effective FDA-approved treatment option for people with obstructive sleep apnea (OSA), as well as other types of sleep apnea.
OSA is a sleep disorder in which the upper airway collapses, interrupting the flow of air to the lungs. The most common symptoms of sleep apnea are loud snoring, excessive daytime sleepiness, and waking up gasping for air.

CPAP treatment helps keep the upper airway open, helping improve sleep quality and decreasing the negative effects of untreated sleep apnea, such as daytime sleepiness, high blood pressure, and decreased quality of life.
There are different types of CPAP devices that all CPAP users should be familiar with, these are:
- Non-adjusting CPAP machines: This type of CPAP machine delivers a fixed air pressure level that can only be modified in its settings.
- Auto-adjusting CPAP machines or APAP machines: These have sensors that check your breathing patterns through the night, and adjust the air pressure level within a pre-established range, according to those changes.
- Bi-level positive airway pressure machines or BiPAP machines: In these machines, you’re able to set two different pressure settings, one for when you’re breathing in, and the other one for when you’re breathing out.
The pressure settings you need are going to be determined by the sleep study conducted to diagnose you with sleep apnea, and it should be reflected in your CPAP prescription. The type of CPAP machine that fits your needs is something you can discuss with your sleep specialist.
Getting Used to a CPAP Machine
Using a CPAP machine may seem strange or uncomfortable at first, but if you follow our tips to make CPAP use easier, you’ll to get used to it in no time!
When using a CPAP machine for sleep apnea treatment for the first time, you should:
Choose the Right Mask for You
Choosing the ideal mask for you may seem like a daunting task given the different types of CPAP masks you can find in the market. Each type has its own advantages and disadvantages depending on the sleeper’s preferences, needs and sleeping position. The types of CPAP masks you can choose from are:
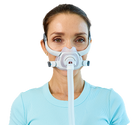
- Full-face masks: They cover your nose and mouth, and are suitable for people who breathe through their mouths or who need high air pressure levels. However, they can also be bulky and prone to air leaks when used by people with a lot of facial hair.
- Nasal masks: These only cover the nose, and are ideal for people who have low to moderate air pressure settings. They are less bulky than full-face masks, but they are more likely to cause nasal congestion and skin irritation.
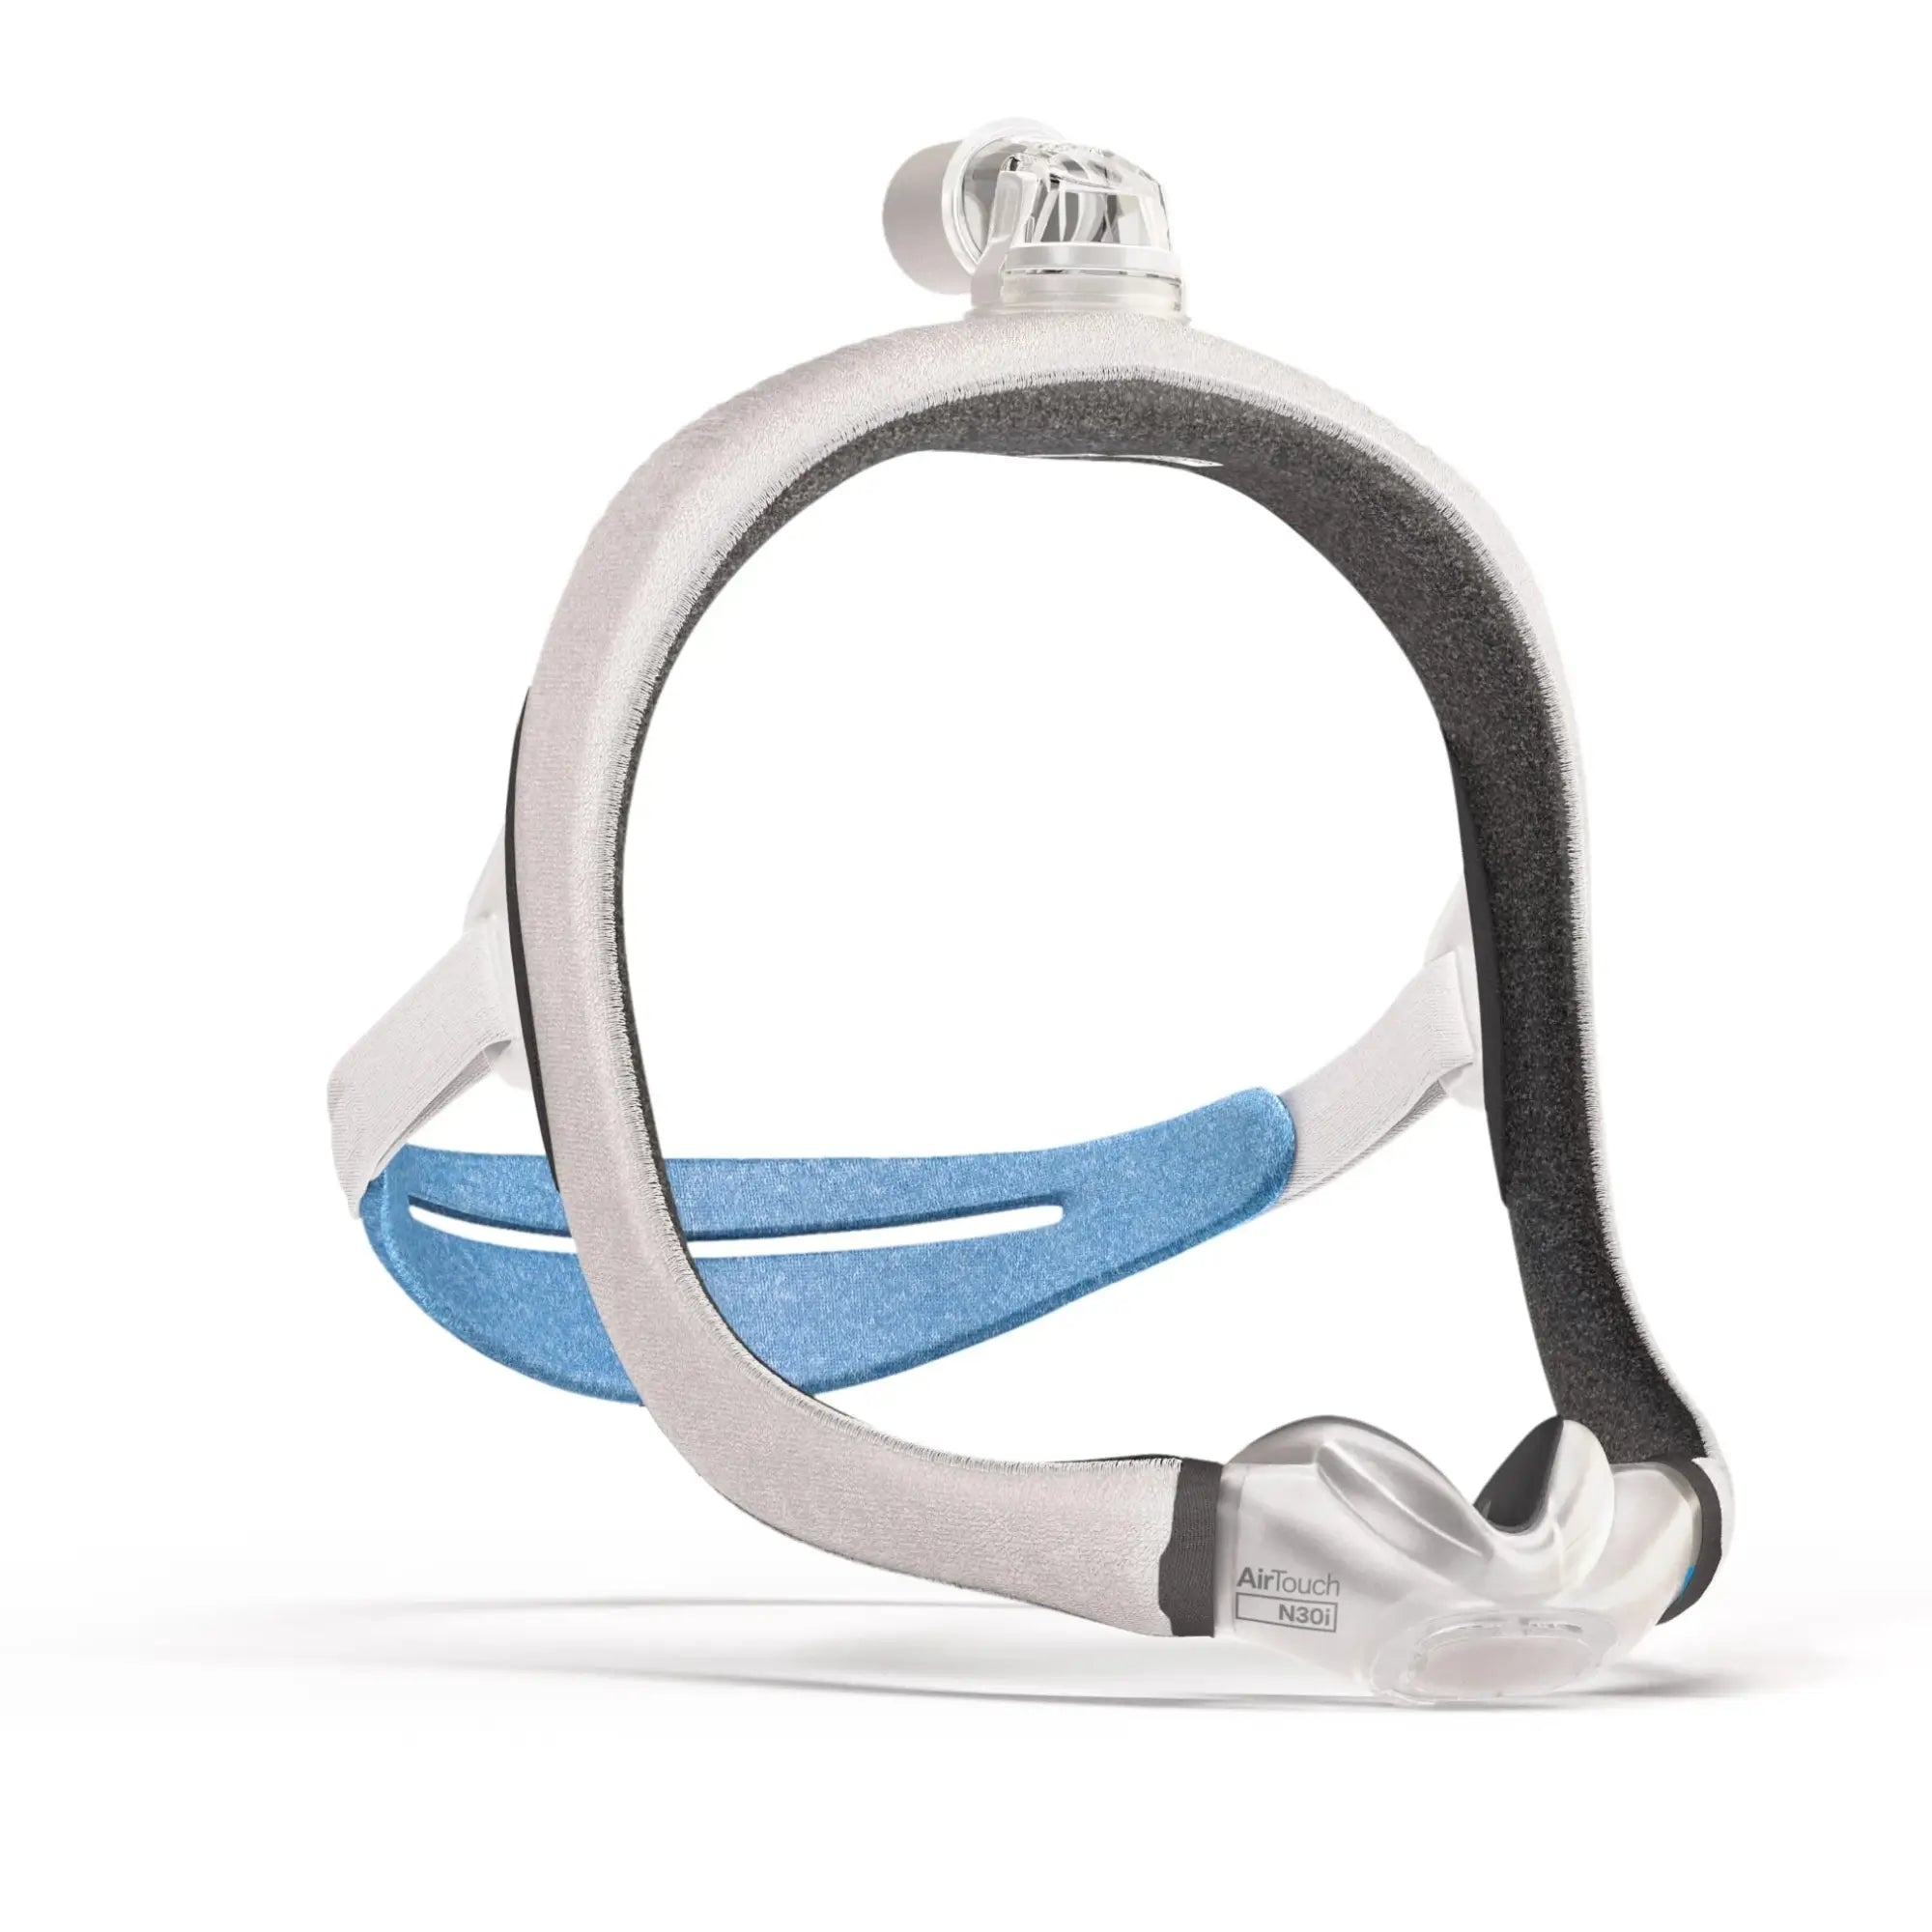
- Nasal pillow masks: This is the smallest and lightest option when it comes to the different masks, and it fits directly into your nostrils. Nasal pillow masks are perfect for people who sleep on their side or move a lot during the night. They’re also great for people who like to read in bed since they don’t interfere with your line of sight.
When choosing the best CPAP mask for you, you can ask your healthcare provider or the CPAP experts at Sleeplay what mask can satisfy your sleep apnea and bedtime needs.
At Sleeplay, we have the best CPAP masks available in the market, and we offer a 30-day free mask exchange program, in case you aren’t satisfied with your mask.
Practice Using the Mask

Adjust the Pressure Settings
Use a Heated Humidifier
Be Aware of Side Effects
How to Set up a CPAP Machine
To get the most out of your new CPAP machine, you need to learn how to set it up properly. These are the steps you should follow to start your journey towards better sleep quality:
Find the Perfect Place for Your CPAP Machine
You want to place your CPAP machine on a flat, stable surface that is close to your bed and to an electrical outlet. Make sure there’s enough space around the machine for air circulation and that nothing is blocking the air intake and exhaust.
Avoid placing the CPAP device near heat sources, direct sunlight or water sources. You also want to keep your machine away from dust, pets, and children.
Check the Filter
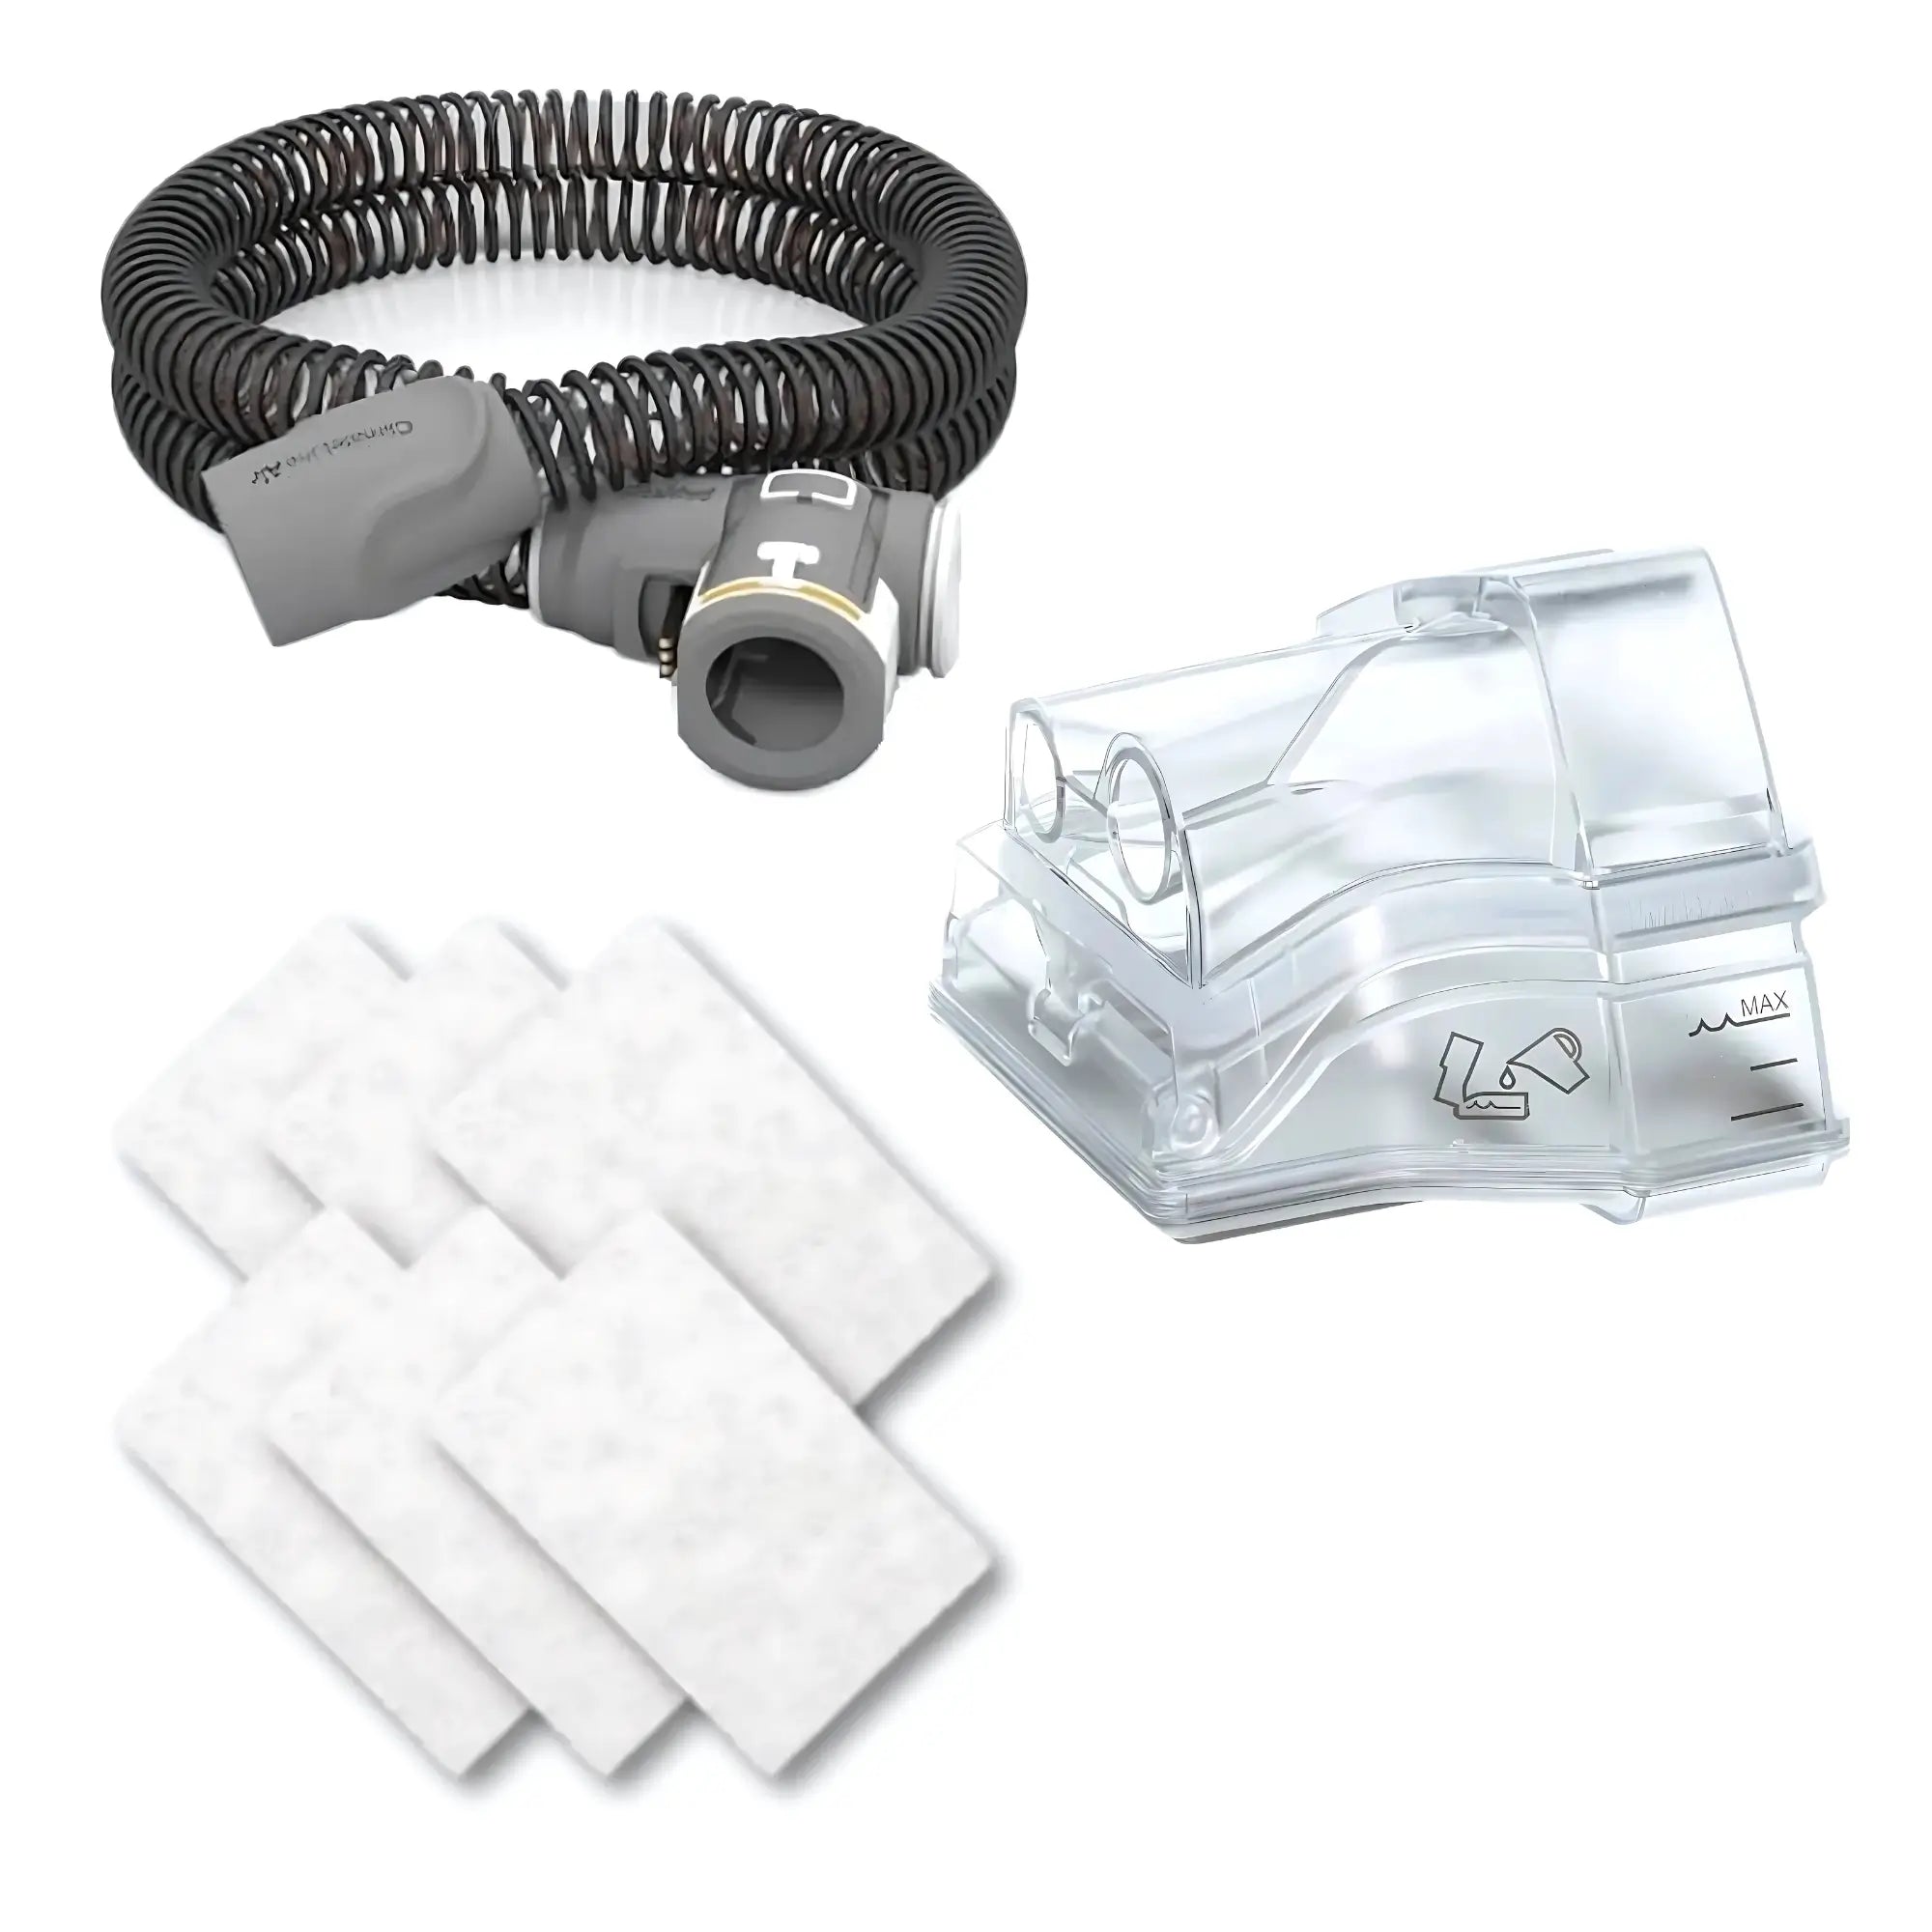
Your CPAP machine has a filter that prevents dust, pollen and other particles from entering the air stream. You need to check the filter regularly and replace it when it gets dirty or damaged.
Depending on the model of your CPAP machine, you may have a disposable filter that needs to be replaced every month or a reusable filter that needs to be washed every week.
To check the filter, remove it from the back or side of the machine and inspect it for any signs of wear and tear. If you have a disposable filter, replace it with a new one. If you have a reusable filter, wash it with mild soap and water, and let it air dry completely before putting it back in the machine.
Attach the Hose and Mask
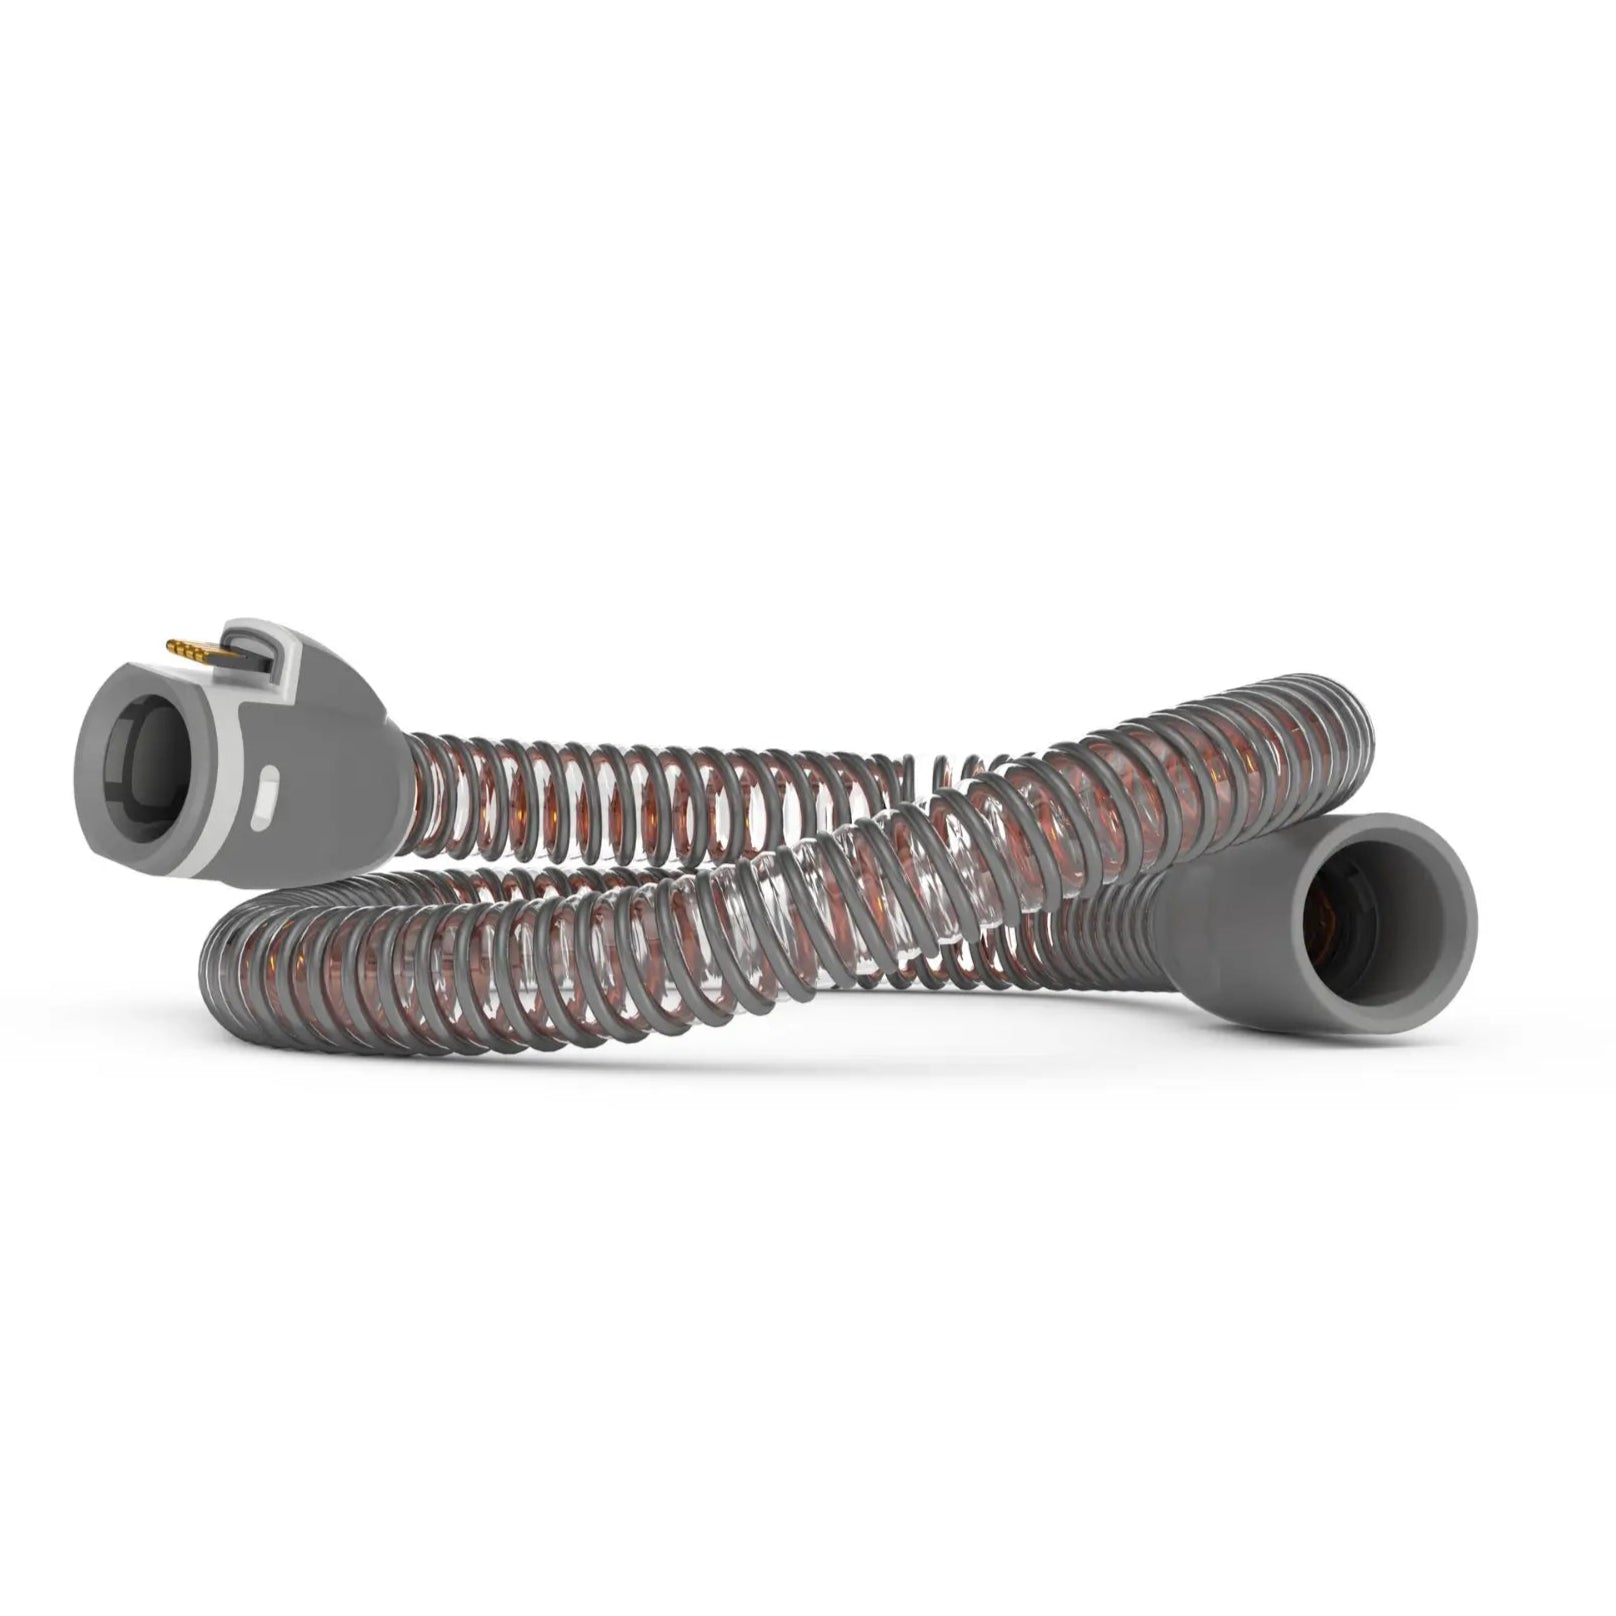
The CPAP hose is the flexible tube that connects your CPAP machine to your mask. To attach the hose, insert one end into the air outlet of the machine and twist it until it locks into place. Then, insert the other end into the port of your CPAP mask.
You need to adjust the length of the hose depending on how far away your machine is from your bed. You can use a hose holder or clip to keep the hose from tangling or pulling on your mask.
Connect the CPAP Machine
Once you have completed the previous steps, you’re ready to connect the CPAP machine to an electrical outlet. Plug in the power cord and turn on the power switch. You should see some lights or indicators on the display panel that show it’s working properly.
Check the Humidifier
Some CPAP machines have a humidifier that adds moisture to the air stream and prevents dryness in your nose and throat. If your CPAP machine has a humidifier, you need to fill it with distilled water before using it and empty it after each use.
To fill the humidifier, remove it from the machine and open the lid or cap. Pour distilled water into the chamber until it reaches the maximum fill line and close the lid or cap securely. Then attach it back to the machine and make sure it is connected properly.
Adjust the Mask
Turn Your CPAP Machine On
Sleep in Your Favorite Position
Best Practices for CPAP Use
Adaptation Period
Use Your CPAP Machine Regularly
The benefits of CPAP therapy depend on consistent and regular use. Skipping nights or using it only for a part of the night can reduce its effectiveness. It’s important to use your CPAP machine every night, even when you’re traveling, sick or tired.

The more you use your CPAP machine, the more comfortable and natural it will feel. Aim to use it for at least seven hours per night, or as recommended by your doctor.
Activate the Ramp Feature
Relaxation Exercises
Some people may feel anxious or stressed when using a CPAP machine, especially if they have claustrophobia. This can make it harder to fall or stay asleep with the mask on. If this is your case, you may benefit from some relaxation exercises before bed.
Relaxation exercises can help you calm your mind and body, reduce tension, and ease your anxiety. Some examples of relaxation exercises are deep breathing, progressive muscle relaxation, guided imagery or meditation. You can do these exercises in bed with your CPAP mask on or before putting your mask on.
Regular Cleaning
Benefits and Risks of Using a CPAP Machine
Benefits of Using a CPAP Machine
- Improved sleep quality: A CPAP machine can prevent and reduce the number of times you stop breathing or snore during the night, which can improve your sleep quality and make you feel more rested in the morning.
- Lower risk of heart disease: Sleep apnea can increase your blood pressure and strain your heart, which can lead to a higher risk of heart attacks and strokes. CPAP treatment can lower high blood pressure caused by sleep apnea, reducing the stress on your heart, which can protect you from future heart problems.
- Reduced daytime sleepiness: Sleep apnea can make you feel sleepy and tired throughout the day, which can affect your mood, focus, and performance. CPAP machines have proven to drastically reduce daytime sleepiness in people who use them regularly.
- Other benefits: Some studies have also suggested that using a CPAP machine can decrease snoring, as well as improve your memory, sex drive, and general quality of life.
Side effects of Using a CPAP Machine
- Nasal congestion: The stream of air can dry out your nose and mouth, which can lead to nasal congestion, irritation and nosebleeds. You may need to use a humidifier or nasal spray to add moisture to your airway and prevent discomfort.
- Respiratory infections: Using a CPAP machine can introduce bacteria and viruses into your lungs if it isn’t properly cleaned.
- Chest discomfort: If the air pressure is too high or if you swallow too much air throughout the night, you may feel some chest discomfort or bloating. You may need to lower the pressure, change the type of CPAP mask you use or change your sleeping position to relieve the symptoms.
- Skin irritation: CPAP masks can cause skin irritation, rashes or sores if they are too tight or if you’re allergic to the material. If you’re having this issue, you should loosen the straps, change masks, or apply a barrier of cream to protect your skin.
- Claustrophobia: Some people may feel claustrophobic or anxious when wearing a mask or having air blown into their nose or mouth. This can be countered by practicing wearing the mask during the day, using a smaller type of mask, or seeking counseling to overcome your fears.
How to Clean a CPAP Machine
Keeping your CPAP machine clean is extremely important for the health of your lungs and to prolong the useful life of your CPAP machine. Here are some simple steps to clean your CPAP machine and its components regularly:
- Unplug your CPAP machine and disconnect the mask, tubing, humidifier, and any other accessories.
- Wash the mask cushion, frame and headgear with mild soap and warm water. Rinse them thoroughly and let them air dry on a clean towel. You should do this daily for the mask cushion, and weekly for the frame and headgear. Avoid using harsh cleaners or moisturizers that may leave residue or damage the mask.
- Clean the tubing by soaking it in warm soapy water or in a vinegar solution. Rinse them well and hang them to dry. You should do this weekly or more often if you notice any dirt or discoloration.
- Empty, rinse and refill the humidifier tank with distilled water every day. Once a week, soak the tank in warm soapy water or vinegar solution and rinse it thoroughly. Let it dry completely before reattaching it to the CPAP machine.
- Replace the air filter monthly or as recommended by the manufactures.
- Use a damp cloth to wipe the exterior of the CPAP machine and remove any dust or debris.
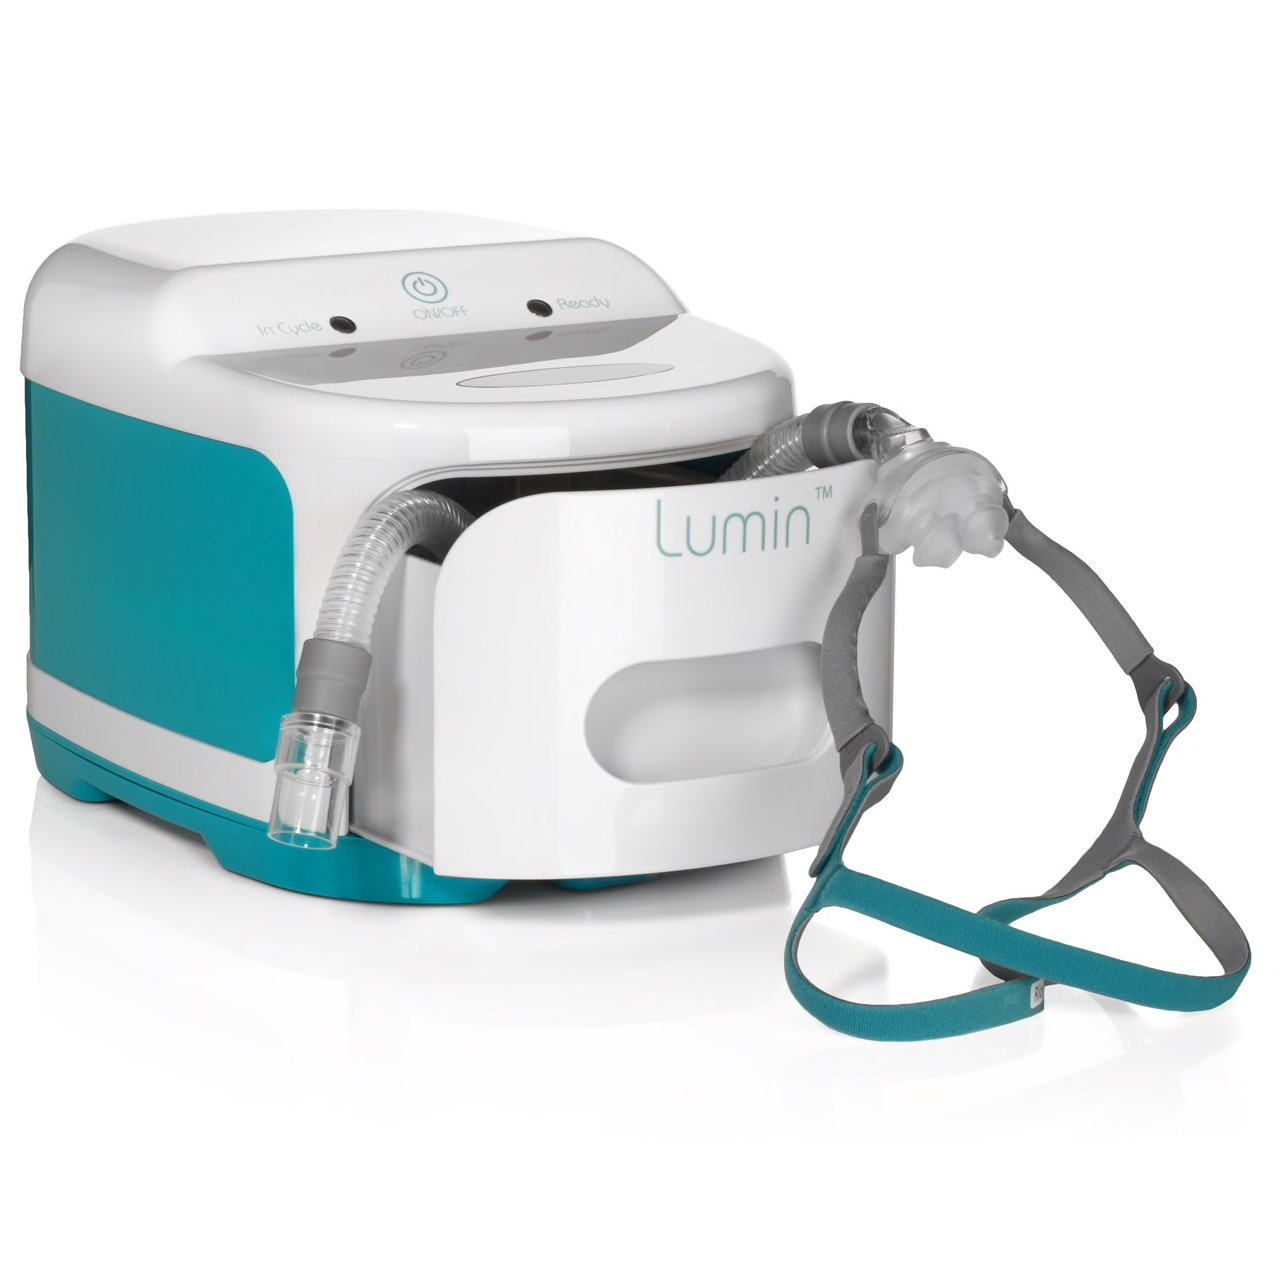
If this process is too troublesome or time-consuming for you, you can also use a CPAP cleaner.
Using a CPAP machine can be a life-changing decision for people with sleep apnea. It can help you breathe, sleep, and feel better. However, it can also take some getting used to. If you still have questions or concerns regarding your CPAP machine, you can consult your physician, or ask our experts at Sleeplay.
Sleeplay is your solution to get the best CPAP machine. Control your sleep apnea with the best equipment in the market!


