Nebulizers are small devices that produce a fine spray of liquid, used for inhaling a medicinal drug. But, unfortunately, these easy-to-operate devices can still be less than effective due to our own carelessness. As a result, we end up wasting money and time on a machine without getting proper treatment. Often, the biggest reason for this turns out to be a dirty nebulizer.
We need to know how to clean a nebulizer so that bacteria do not ravage the inhalers.This can cause infections and make your condition worse. Today, we have some simple, easy-to-follow instructions so you can use your nebulizer safely and for a long time.
What is a nebulizer?
If you are using one, you probably already know. Still, it’s a machine used to inject medicine into our system by delivering directly to our lungs. It takes liquid medicine and changes its form to aerosol spray. People who have to use nebulizers tend to have asthma, COPD, or other respiratory diseases.
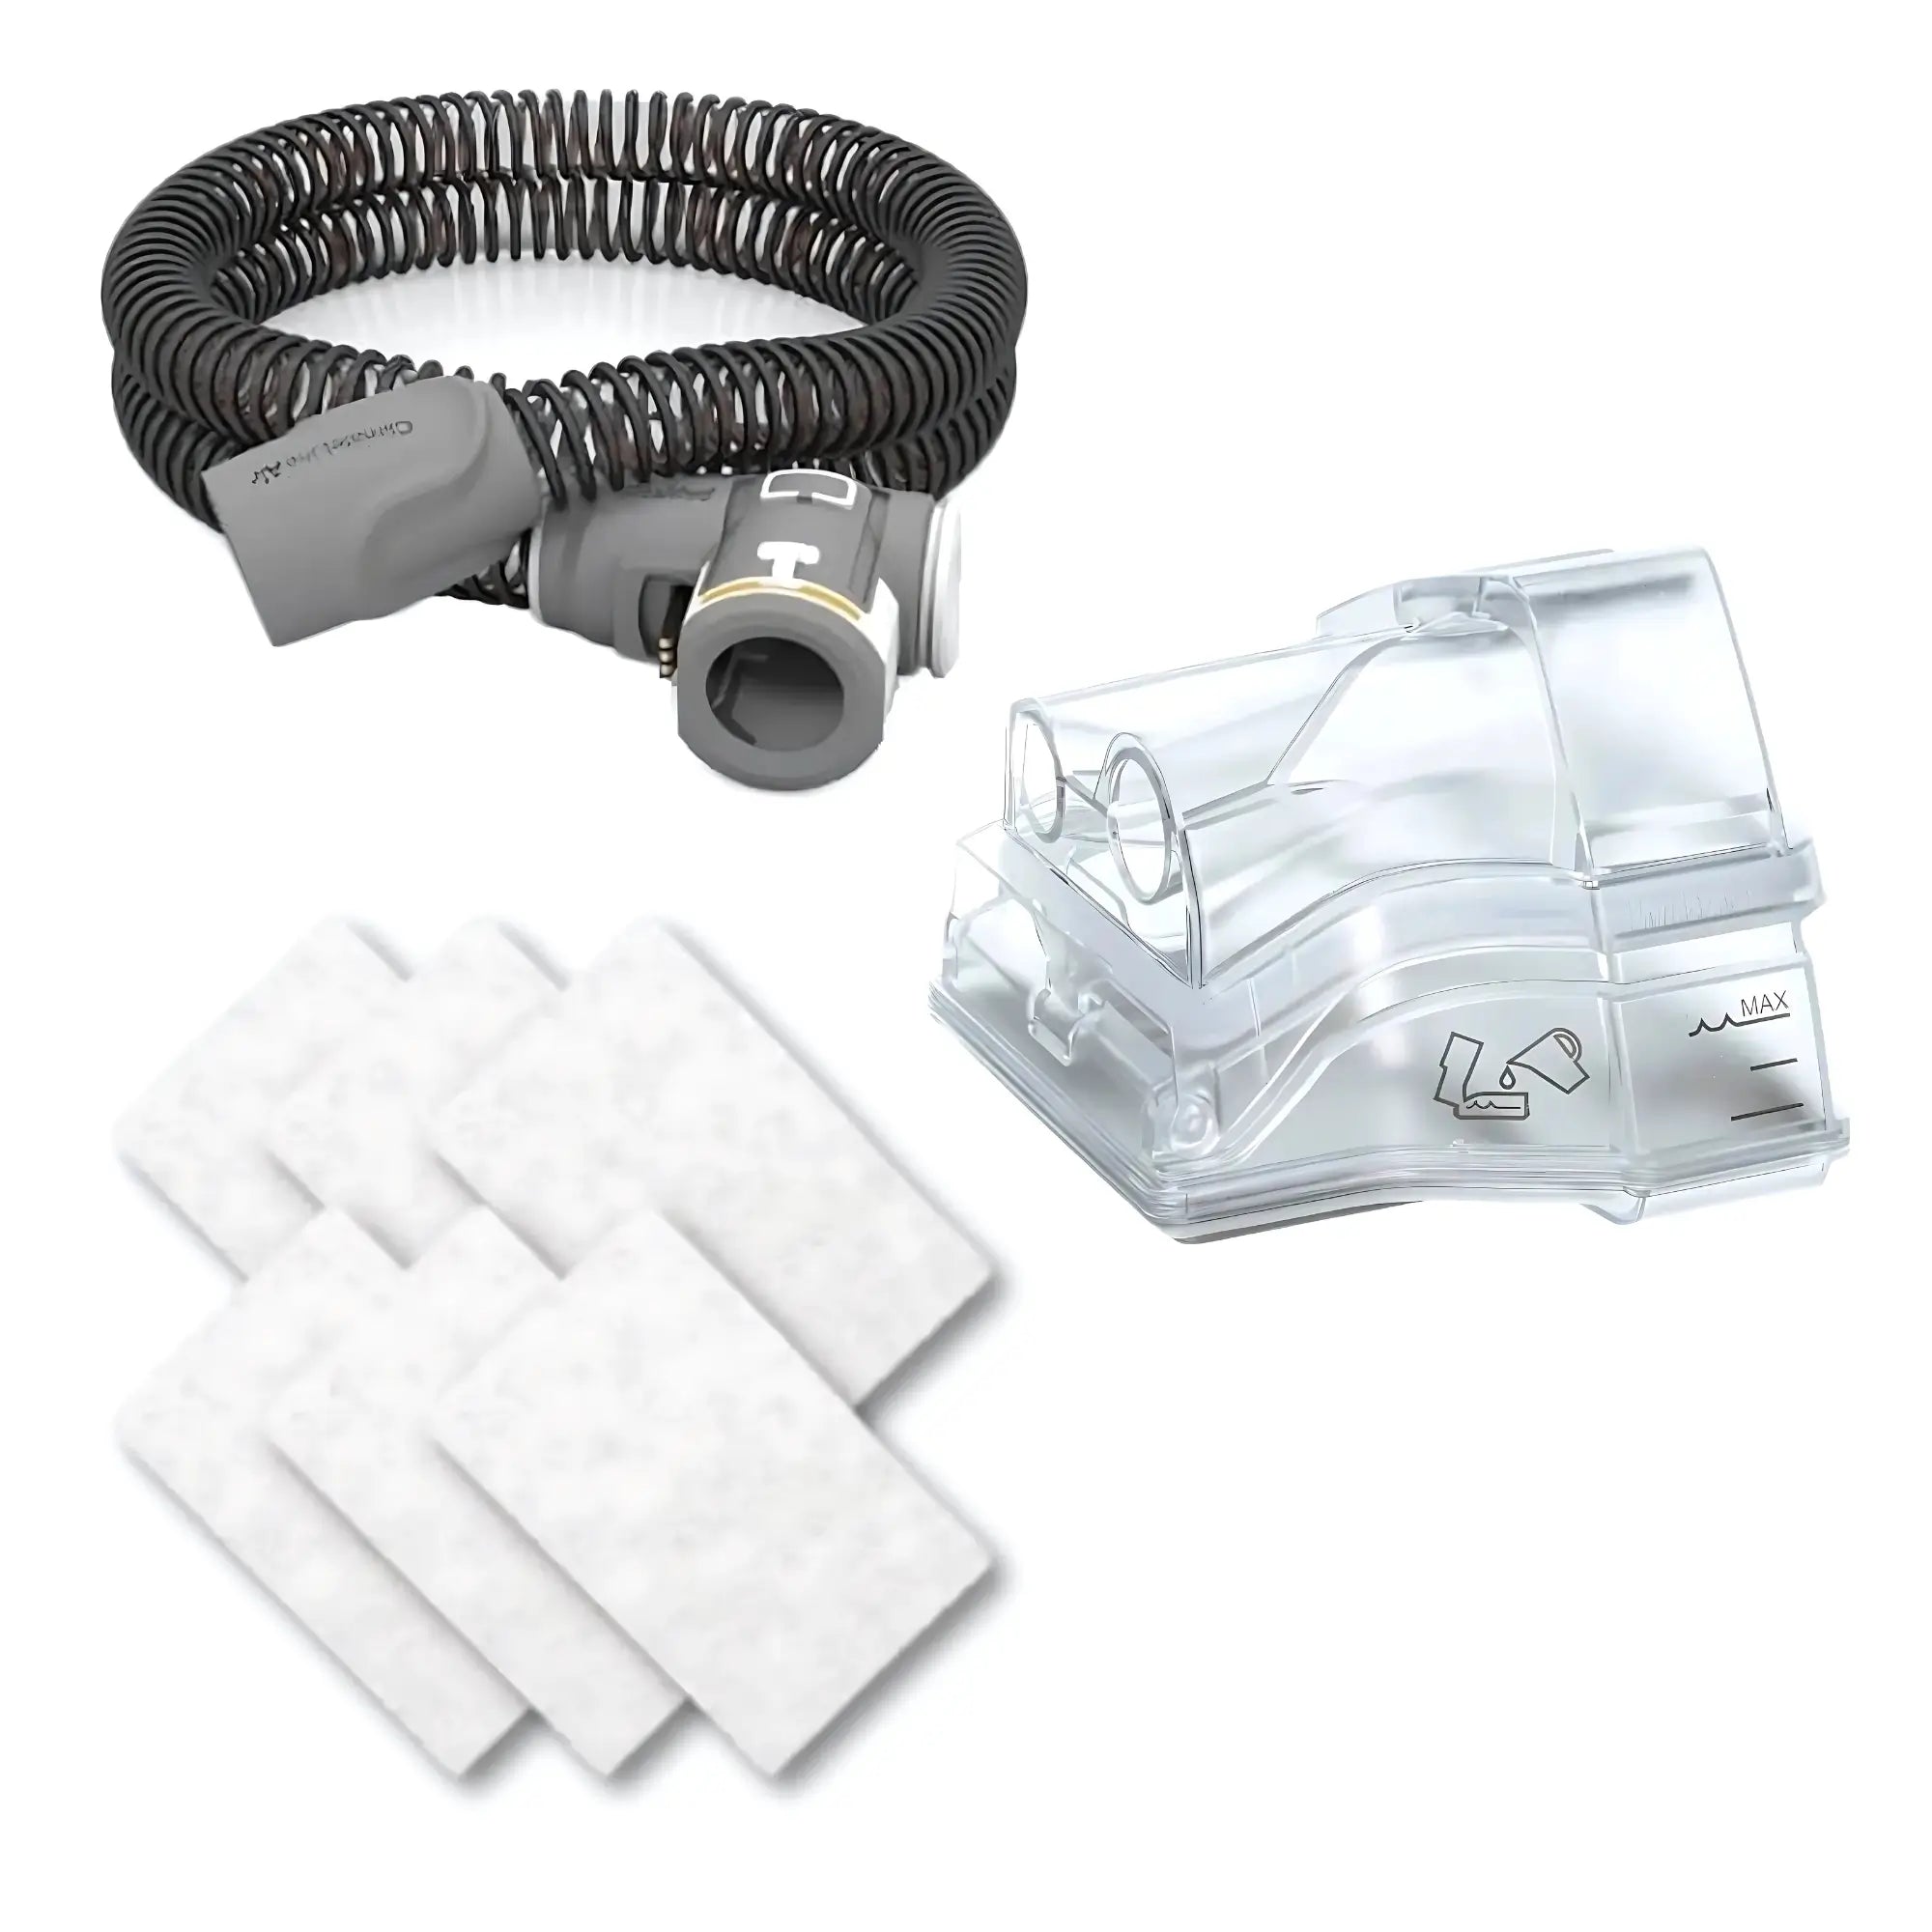
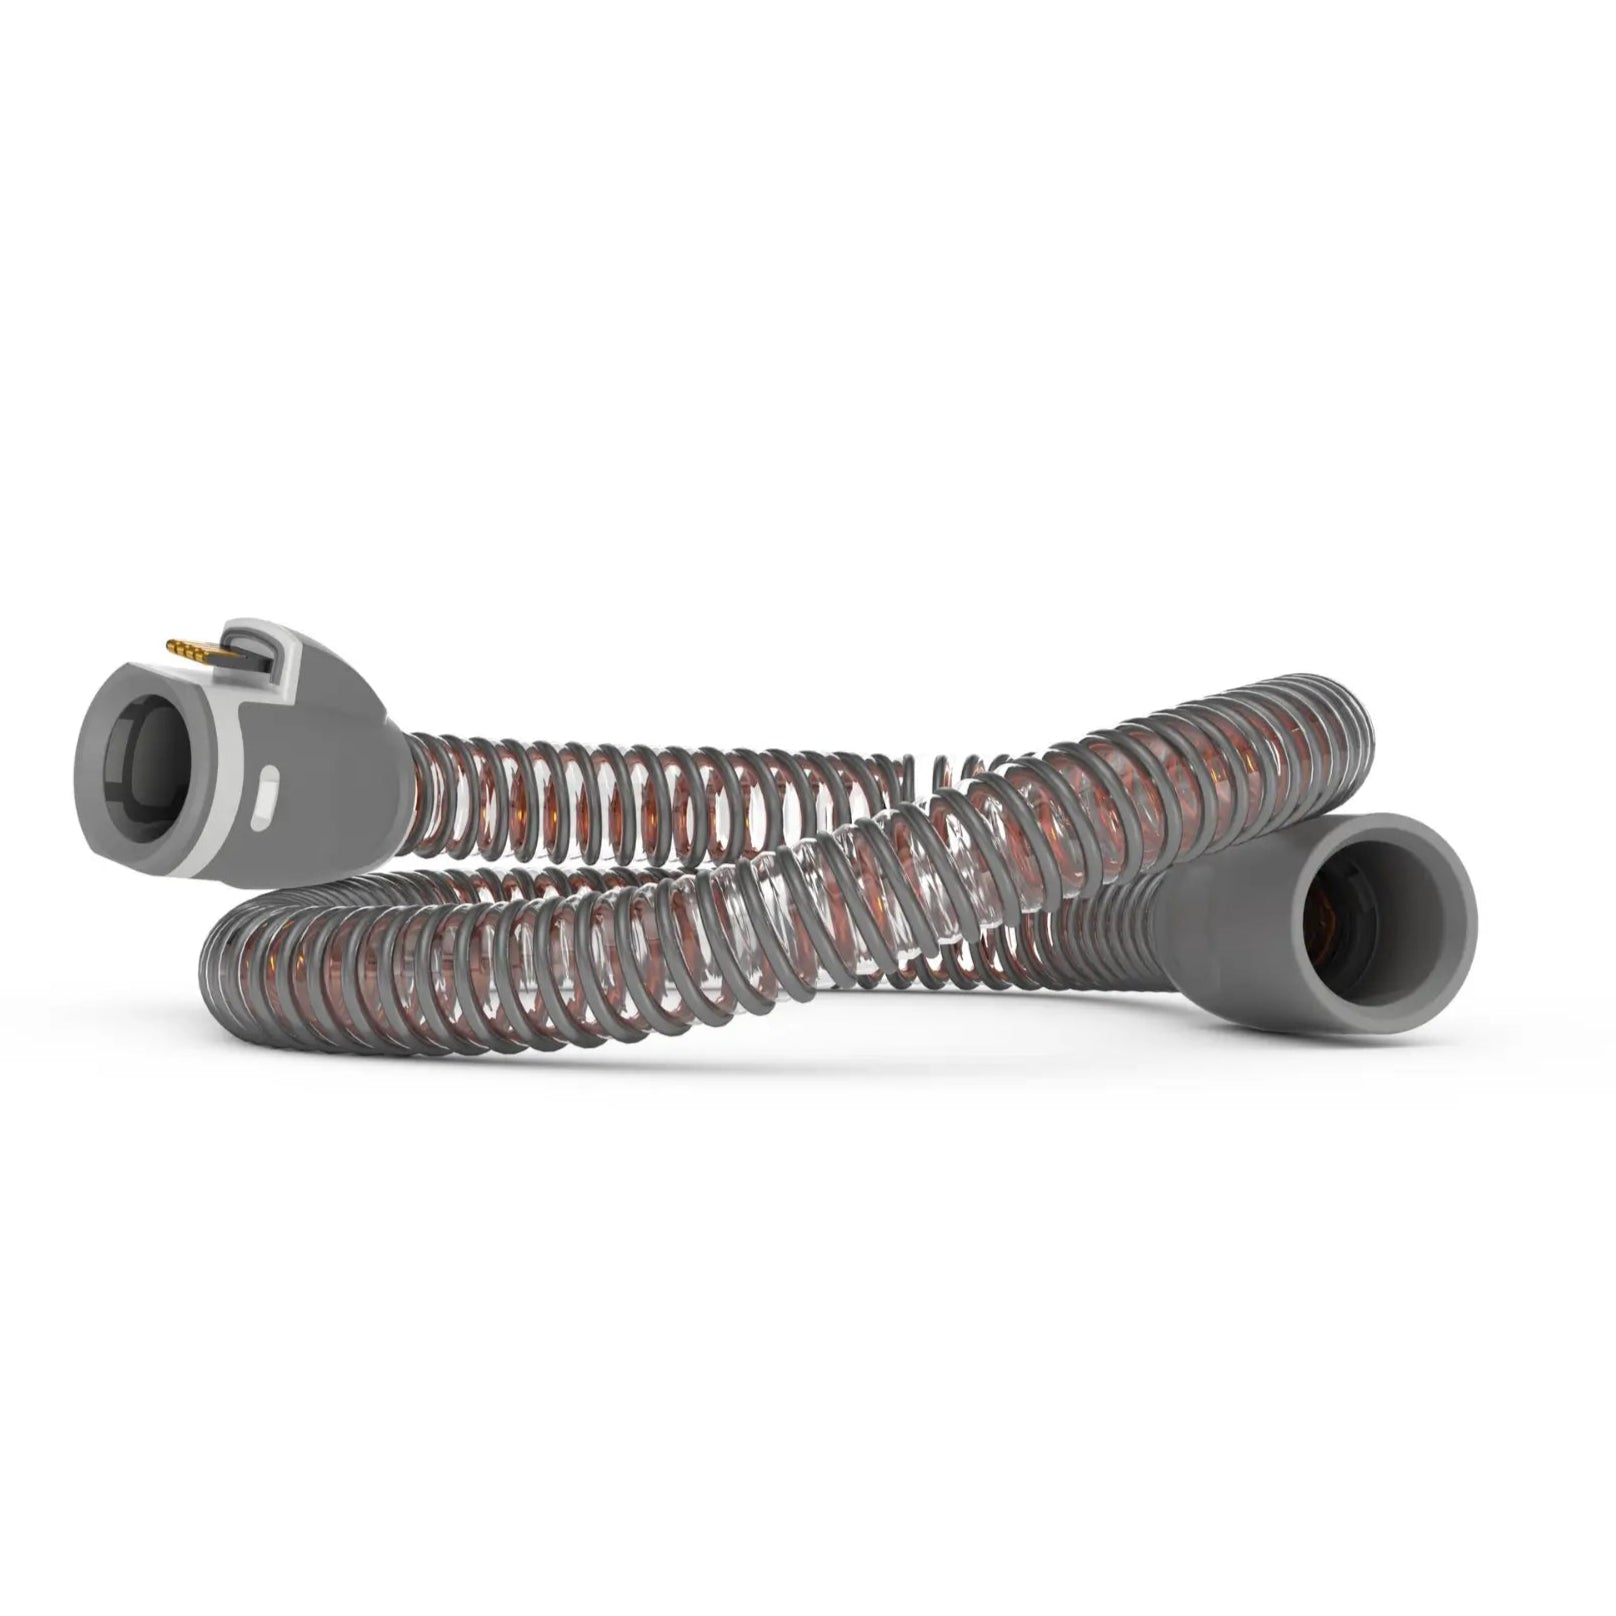
These devices are usually small and made of 3 different nebulizer parts: the air compressor, tubing and nebulizers. Some of them run on batteries while others have to be connected to electricity. As the device is small, you can carry it with you if it is run on battery. You can also use an electricity-run nebulizer in your car.
How To Clean Your Nebulizer After Using It
The best time to do some nebulizer cleaning is just after using it. The task isn’t as complicated as it feels, and you can get it done in a few minutes.
1 . Disassemble The Nebulizer
Carefully detach the t-shaped clamp and the mask from the cup. Do the same for the tubing, but you don’t need to touch it for now. As the tubing only has clean air moving up and down, the pipes don’t need immediate washing.
2. Rinse The Components
Pour warm water in a tub and rinse the mask in the soapy water, the clamp with it. Do it for about half a minute. Even better if you can use filtered water. Clean up any excess water sticking to it. Lay the components on a paper towel and allow them to airdry.
3. Reattach the components
Once the mask and the connector have properly dried, attach the parts back as they were. Then, reconnect it to the compressor. The inside part of the nebulizer can be dried by running the machine for about 20 seconds.
4. Keep It In A Safe Place
Turn off the tubing. As for the nebulizer, find a sealed bag to store it inside. You should either keep the compressor inside a storage package or use a dry towel to cover it up.
How To Clean Your Nebulizer Daily
Daily cleaning is the easiest. As long as you clear your nebulizer after each use, daily cleaning is a matter of rinsing and washing once.
1 . Use Warm Water and Soap
Follow the steps we recommended for the nebulizer kit. For daily cleaning, it is recommended to use warm water and white vinegar or warm soapy water. You should rinse these items under running water for a few minutes.
2. Do Not Use the Dishwasher
It is not recommended to put the nebulizer parts in the dishwasher. The dishwasher can damage the tubing and nebulizer cups. You can use a electric steam sterilizer also known as a baby bottle sterilizer if you have one. The electric steam sterilizer will use hot water to sterilize your nebulizer parts. This takes about 5 minutes, afterwards you should place the items in a dry place.
How To Clean Your Nebulizer Weekly
The weekly nebulizer cleaning routine is a bit more thorough than the daily one. However, it is still pretty simple.
1 . Clean The Components
Just as you have done for the mask and t-shaped clamp on a daily basis, do so for weekly cleaning.
2. Soak The Parts In A Bowl
Find a clean bowl and prepare a solution that consists of two-third sterilized water and 3% isopropyl alcohol or hydrogen peroxide .Take out the mask and the connector and place them inside the bowl. If you are using hydrogen peroxide it is recommended to soak the items for 30 minutes. If you are using isopropyl alcohol it is recommended to soak for only 5 minutes.Afterward, you can drain the solution out.
3. Rinse The Parts
Use sterile water or warm water to rinse the mouthpiece and other parts. Do so for about a minute, and then get rid of the extra water sticking to the components. Next, grab clean towel and lay down the parts on top of it to air dry.
4. Clean The Insides
Once the parts are dry enough, assemble the nebulizer as it were before. Turn the device on after attaching it back to the compressor. Keep the machine running for about 20 seconds to clean the insides.
5. Clean The Compressor
Use a washcloth to clean the compressor’s surface area. The water should not touch the inside of the compressor. This particular part should never be washed. After you have wiped it, you can use a dry towel or a bag to store the compressor.
Final Thoughts
You will have easy, infection-free nebulizer treatments if you clean the nebulizer on a regular basis.The time it takes for the nebulizer to work would be significantly reduced.
Most importantly, keeping a clean nebulizer is beneficial to your lungs.You don't want to make matters worse for your lungs.
Furthermore, if you clean it on a daily basis, you may not need to perform the extensive weekly cleaning ritual—cleaning the nebulizer after each use takes care of half of the cleaning.You will have a safe nebulizer therapy period if your nebulizer is not dirty.You will not have to restart your treatment, and you will save a significant amount of time and money.


